Showing posts with label DIY. Show all posts

Friday, January 3, 2014

Kate Jameyson

As we anxiously await the birth of our new niece Kate, I figured this would be the perfect time share some of the celebrations that I have had the honor of being a part of leading up to her arrival.

Megan (mommy-to-be) and Dan (daddy-to-be) hosted a gender reveal party in August for their close friends and family. Megan was inspired by this outdoor "baby-q" and recruited my help for the invitations and signage. 
I had so much fun helping her with the party, and Megan did such a great job with all of the details, and as always was an incredible hostess.
Everyone selected either a tutu or a tie pin as their guess for the gender. Such a cute idea. And can we talk about those desserts (of course I have to comment on that)!?
She even had a gourmet burger station! YUM!

The best part was the big reveal! Excuse the shaking camera at the end as I may have gotten a little TOO excited.
It's a GIRL!!!


Then in November, I co-hosted a couples baby shower for Meg and Dan. Megan works for a furniture company and we were lucky enough to get to use her beautiful showroom as the venue. It was the perfect location for an event honoring some wonderful parents-to-be and a sweet little girl!
One of my favorite parts was that we requested guests to bring books instead of cards and to write their sentiments inside. This way Kate's library is stocked and she will get to read notes from all the people that love her so much already!

My co-host Keena is amazingly talented and made the most gorgeous floral arrangements that we used around the party.
This table also held baby pictures of the parents along with a few photos from their maternity shoot

We played "dont say baby" clothespin game: you wear a necklace with clothespins and if you hear someone say the word "baby" you can steal their pins, at the end of the shower the person with the most clothespins wins!

The top photo is a basket of "late night" diapers where guests have the opportunity to write messages, funny or sentimental to the new parents for them to read during late night diaper changes.
Diaper cake with a wearable tutu, hair bow and baby bath items. Another favorite of mine were the monthly onesies that Kate can wear for progress photos. I found the free printable here , printed it on clear sticker paper and adhered them to onesies for each month - they turned out great!
 We also had guests guess her birthdate and weight (unfortunately the day I guessed has already passed. Womp Womp).
The tree canvas in the bottom photo was used as her guest book. People took stamps of their thumbprints as the "leaves" and signed their names. This was also used at her first shower and can now be hung in her nursery.
Me with mommy-to-be and my fabulous co-host
I loved working with Keena to shower this special soon-to-be family of three with love. I cant wait for Kate to get here and spoil her rotten! Any day now - C'mon Kate, we're ready to meet you!

Thursday, January 2, 2014

A little DIY and NYE

Happy Happy New Year! I hope everyone had a wonderful holiday season, I know I sure did! We had a great trip to Florida to see my family over Christmas. I loved spending time with them and the weather was perfect! No white Christmas for us! Instead think palm trees, convertibles, sunshine and of course golf carts (we were at The Villages).

I made my parents a DIY wreath for Christmas and they seemed to really like it. The colors will go perfectly on their lanai or adorn their front door beautifully! I can't wait to see where they choose to put it.
Next time I'm there I need to remember to take photos of my parents house. Their home and patio is gorgeous, and the decor is magazine-worthy.

Speaking of DIY wreaths. Since we were planning on being out of town for the holidays we decided to keep our Christmas decor minimal. But I couldn't resist making a Christmas wreath (I don't want my neighbors to think I'm a total grinch).


We returned home from FL in time to spend New Years eve with some great friends.  We went to a wonderful dinner out and back to my place for dessert, champagne and to watch the ball drop. As we always do when we're together, we had a blast, and one too many ladle shots (explanation for another day)!!!


DIY NYE Banner and a goldendoodle 

 NYE Also marks the anniversary of when Chris and I started dating. This year it has been 9 years (or is it 8?)! I love him more now than I ever imagined I could!


We also got to celebrate these two who got engaged over the holiday! Congratulations Jenn and Alex!


I found this quote particularly fitting for this time of year and the resolutions that people make (and inevitably break). I haven't hammered down any resolutions as of yet, is it too late? 

This weekend we will get to celebrate Christmas with Chris' family, and I'm starting boot camp on Monday - wish me luck (and that I don't throw up or have a heart attack).

Here's to an amazing year ahead and all of the memories to be made!

Wednesday, November 20, 2013

NEW FLOORS!

So the title of this post is NEW FLOORS. However, at this point, they're not exactly new. They were installed relatively quickly considering the amount of work it took. I just have been slack about posting. Chris and I were so lucky to have so much help from friends and family during this whole process. We couldn't be happier with the end result.

 The floors we chose were called Toasted Chestnut by Allen + Roth from Lowe's. For the price, they feel and look like a great quality.

Our first step was to remove all of the baseboards and lay a vapor barrier to prevent moisture from getting to the flooring. We then began the process of laying out the floors to make sure the seams varied. The hardest part of the whole process was cutting around cabinets and corners, trimming door jambs and making sure there was enough of an expansion gap for the floors to "breathe". We used spacers to help with this. 
I actually got in and got my hands dirty cutting the floors where need be and tapping them into place. I have a new respect for people who do this for a living. It is seriously hard on your body! After the floors were in we had to put the baseboards back on, patch and paint them and add the matching quarter round.

 I could seriously kick myself because I took photos of the entire process of installing the floors. They stayed on my phone for a month and then I mistakenly deleted them. Do not fret, I DO have "after" photos.


I am so happy this project is complete. In my opinion the floors alone have transformed the entire house. Thanks again to everyone who helped us mark this big item off the "to do" list. We couldn't have done it without you!

Thursday, August 29, 2013

Tore Up From The Floor Up

Holy hardwoods batman! 
As you know one of the items on our home to do list was to replace our damaged hardwoods with a more durable and attractive laminate. After looking at many different floor samples for the past couple months Chris and I finally chose one. So on Sunday we bit the bullet, ordered the flooring and decided to start removing our current hardwoods.
As soon as we started, we knew we were in for quite a task. The hardwoods were heavily glued to the cement underneath, and were VERY, very stubborn. 
After cutting sections with a circular saw, both Chris and I used pry bars and hammers to remove the existing wood. 2 hours and all our blood sweat and tears (not from crying, but from a wood chip flying in my eye), we had only removed a small portion of the dining area. 


Before starting this project Chris told me that if we had to hire someone to remove and install the floors we couldnt go on a cruise next year, so believe you me, we were determined to make this DIY project work. 

So Chris did a little research, talked to some friends and family who've done similar projects in the past and decided to rent a floor scraper from Home Depot. The hope was that it would help remove the hardwoods as well as scrape up the remaining glue and wood remnants. Some reviews online said the machine didn't help at all, but we had our fingers tightly crossed.

Chris rented the scraper, and with the help of our good friend Justin they demoed the rest of the hardwoods in the dining area, kitchen and living room as well as removed all the adhesive in half a day. The cost of the machine was around $85 plus $15 on pizza to feed the hard workers, but that $100 saved us thousands (plus a vacay) since we didn't have to hire help. 

Here are some before and during photos of the demo. (sorry for the bad iphone photos)

Before
During but after  using scraper
During but before using scraper on glue and stuck on hardwoods. (Sneak peak of new curtains)
After removing wood and scraping glue - looks ugly but is so much better!


Currently our new flooring is stacked in the corner acclimating to room temperature per manufacturers instructions. The plan is to install these bad boys this weekend. I Will keep you posted on any DIY drama and of course "after" pics. Wish us (and by us, I mean Chris and handy friends) luck!


Tuesday, June 4, 2013

House "Before" Pictures

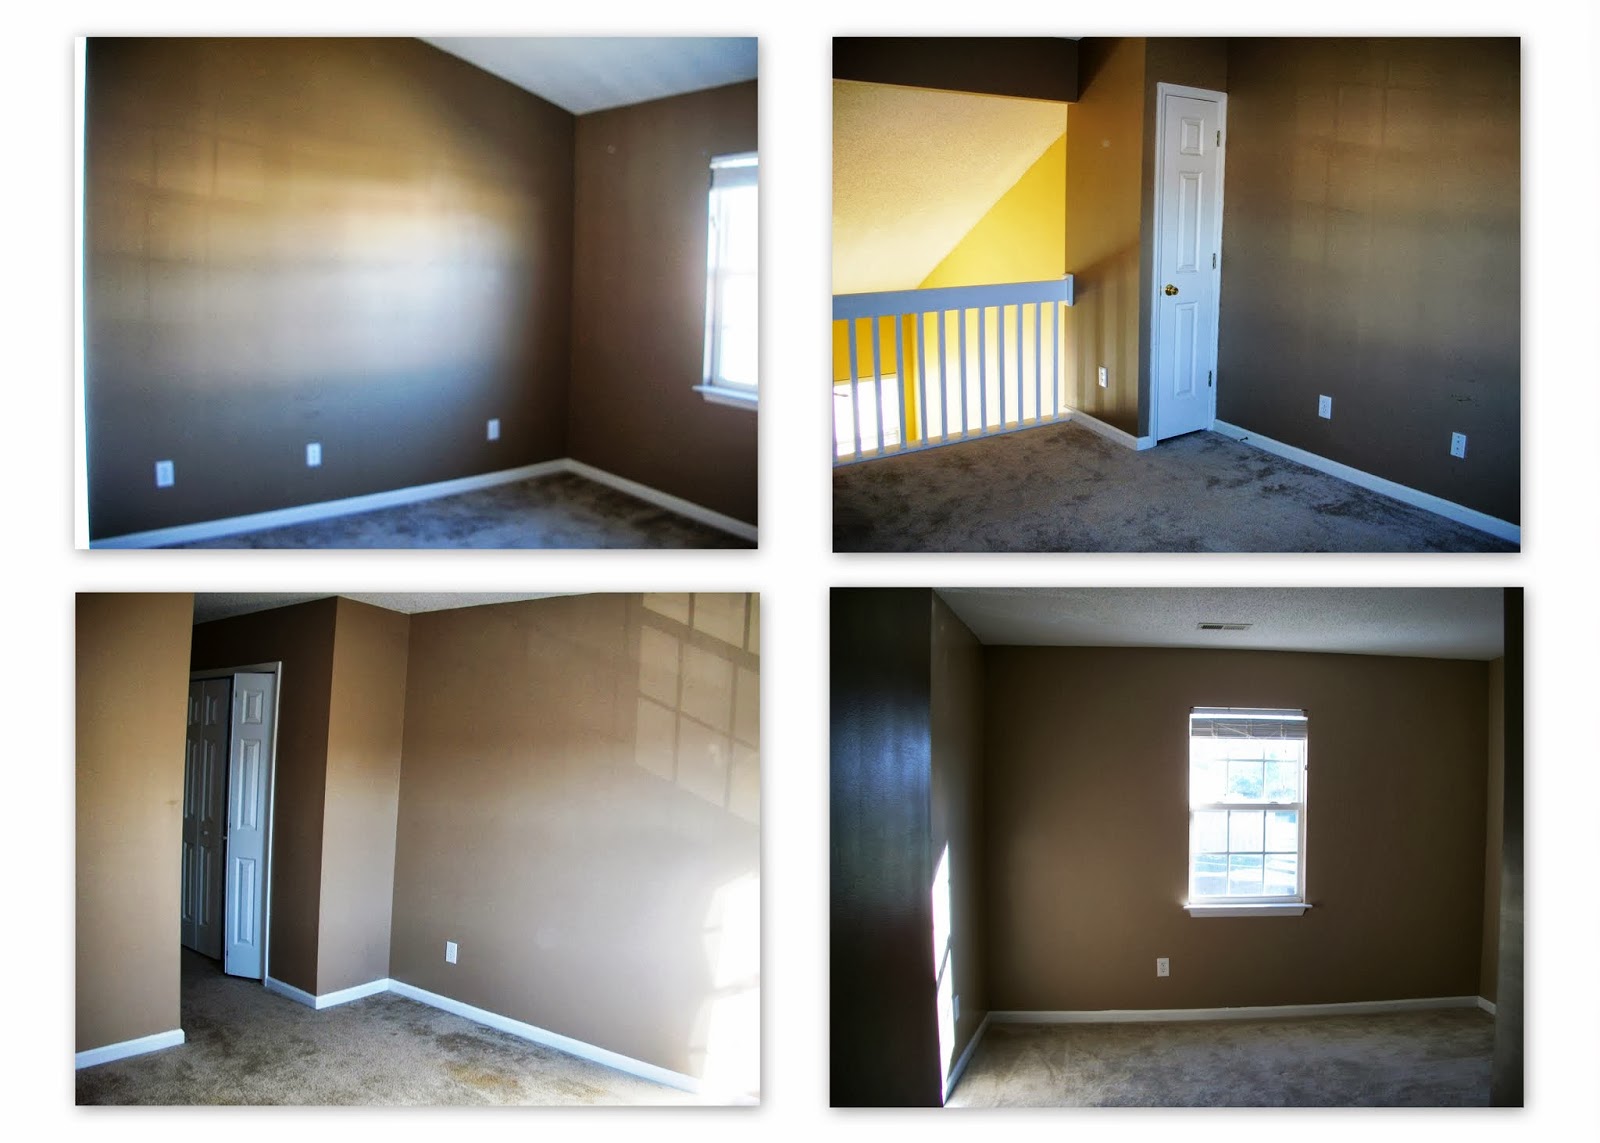
I think I've mentioned before that when Chris and I purchased our house it was a foreclosure. The previous owners used it as a litter box. As in, they allowed their cats to use the carpets as their toilet. Lovely really. 
I've promised some "before and after" pictures of the house so today I'll start with "before". Some of the pictures don't look THAT bad. But remember you cant smell over the internet. 


I think the stairs were the cats favorite spot
As you can see there are a lot of stellar paint colors/techniques as well as awesome brass light fixtures. 
Don't get me wrong, we did luck out with some pretty great kitchen applicances, but the majority of the house definitely needed some cleaning up and updating. When we first got the keys Chris and his dad got to work ripping the carpets and baseboards out, scrubbing the walls, and bleaching the subfloor before sealing it with Killz (I totally would have helped but I was on my bachelorette party - bad timing or good timing? you be the judge). We then had new carpets installed and all the walls, doors, ceilings and trim painted.. Stay tuned for some "after" pics. Maybe it would be more accurate to say "in progress" pics as I don't think I'll ever feel like a room is finished!

Monday, June 3, 2013

A few house updates

Well, looks like I've done it again. Completely neglected my blog, for all of you who have been checking for updates I apologize, and for those who haven't, you've obviously not missed anything. During my little blogging hiatus I have made a few updates to the house, or at least made purchases for the updates. 

As you may remember from my Home To Do List a few items that I've been meaning to get to are:

Making a wreath for my front door - I love the look of the fluffy burlap wreaths that people have been making, but being the cheap-o that I am, I just couldn't stomach the steep price tag. Enter Hobby Lobby and the 50% off sales. All of my supplies (minus the $2.99 metal base which I used a 40% off coupon for) were 50% off making the total price of this wreath project $18.

Definitely not an exact replica of my inspiration wreaths but not a far cry, and MUCH MUCH easier on my wallet.

Another project scratched off my to-do list; picking a fabric for curtains. I took the pillows I currently have in my living room to the fabric store to make sure everything would coordinate. I decided on the Khanjali Glacier and was pleasantly surprised with how everything came together. I ordered enough fabric for (2) 96" curtain panels and (2) 18x18 pillows, about 6.5 yards. I cant wait for the fabric to come in - thanks in advance to my mother in law for helping me with the sewing portion of this project

I've also been working on sprucing up our back patio. 
I've added a few plants as well as a little herb garden/lattice thingy


I also decided it was time to replace our current outdoor light
Isn't she a beaut? Just image more rust and way more bugs in the jar
with a more substantial updated light


Fingers crossed it looks good! I just happen to think its the little upgrades that make a world of difference!

While I haven't gotten to everything on my list I am definitely making progress! I will post pictures of the finished curtains (once my MIL makes them) and installed light fixture (once Chris installs it) - hey, I have the ideas not necessarily the skill :)